
So you need a new photo for your Amazon author page, your website, your social media profile, and your email signature, but you don’t have the time or budget for a professional photoshoot.
Here are my tips for taking a “good enough” photo. Not a great photo, but an okay one.
Step one: Taking the pictures
First, get a bunch of lights pointed at your face. The more light, from more different directions, the better. Natural light is great, but make sure that the open window — or the sun itself – isn’t directly behind you. You can also stand outside on a slightly cloudy day so that the light is a little diffuse.
Then take a ton of pictures. Dozens, at least. With tiny changes in your expressions and poses.
Or — and this is what I do — turn on Zoom and hit the record button!
If you’re using Zoom, you’ll also want to go to your video settings. If you’re on the desktop, look at the bottom left, where the “Stop Video” button is. Click on the up arrow next to it, and select “Video Settings.” Then under “My Video” make sure you’ve got all three options checked — “Mirror my video,” “Touch up my appearance,” and “Adjust for low light.” Set “Touch up my appearance” to its maximum and “Adjust for low light” to “Auto.”
Now pose. Smile. Frown. Think. Touch your glasses. Hold your chin. All the usual stuff.
You might also want to put a picture of your kids in front of you and think warm thoughts. Or put a picture of some puppies and kittens and think fuzzy thoughts. Or put a picture of your celebrity crush and think sexy thoughts. These will show up in your face in micro-expressions and make your photo look better, even if nobody can tell exactly why.
You might also play some fun music to get your energy level up. You want to be radiating energy in your photo instead of being an energy sink.
Or you could try coffee or a round of jumping jacks.
While you’re up, you might also try changing your top. Try on different jackets, different shirts, different accessories, different hair styles. Take pictures with your glasses on, and with them off.
If you’re into makeup, try plain looks, then light makeup, then heavy makeup, and different colors of lipstick. If you have lots of hair, try different hairstyles — put your hair up, put it down, slick it back. If you have wild hair, especially, you might want at least a couple of pictures with it caged up in a clip, or under a heavy layer of hair wax or hairspray so that it’s easier to do a background removal.
If you have a very cluttered background, try to get at least some pictures with a plain background. If you’re on Zoom, you can hang a bedsheet behind you (I have a green one that I got off Amazon that I also use for recording our Free Friday videos. The exact one I got isn’t available anymore, but this highly-rated one is just $10. I hang it on a clothesline that I stretch across the room behind me when I tape.)
Finally, get some closeups and also get some distance shots. And get some pictures where you’re holding your books or writing thoughtfully in a nice notebook.
Expect to spend at least half an hour doing this.
Once your energy is all used up and you can’t emit any more good vibes for the life of you, hit the “stop recording” button, shut down your Zoom, and wait for it to save your video.
Step two: Processing your photos
Now you have a collection of images on your desktop or smartphone. Go through and select the five or ten best ones. This is a good way to learn what angles and poses work best for you, and what clothes and colors look good on you on camera. Keep these things in mind next time you’re interviewed on Zoom so that you can look your best.
Or you’ve got your video file, in which case you need to extract photos from it. To pull still image out of Zoom videos, I use the “Movies & TV” app on Windows. There’s a pencil icon at the bottom left. If you click it, one of the options is “Save photo from video.” That’s what I use, and go through the video either using the scroll bar or arrow keys– to advance frame-by-frame — and save all the pictures I want.
If you have a Mac, you can use the Photos app to open the video, drag the scroller to the frame you want to export, and choose File > Export > Export Frame to Pictures.
Now you should have a few pictures — or a few dozen pictures — that are halfway-okay. If you like any of them just the way they are, save them to a “good headshots” folder with descriptive names so that they’re easy to find again.

Now, let’s work on creating the actual headshots.
First, let’s remove the backgrounds on your pictures.
I use Remove.bg. It’s easy, and it’s free. Just go to the website, upload your image, and save the new image with the background removed. It’s the best background remover I’ve tried, and I’ve tested out dozens of them. If you have a crazy background and wild hair, you might need to go back and take some more pictures with a plainer background or more controlled hair.
Then — and this is an especially important step if I was lazy and recorded off my webcam and grabbed stills from a video, so the photo is low quality — I upscale it with Upscale.media. This is another great, free online tool. You can upscale images two times or four times. Just make sure the “Enhance Quality” option is turned on. I use this all the time for my photos and images, and it’s also a great way to take a low-resolution AI image and make it large enough to use on a book cover.
Okay, now you’ve got a bunch of great headshots of yourself with no backgrounds. You can stick them on your website on top of whatever else you’ve got going on there, or you can add a background to them and turn them into professional-quality headshots — or almost professional-quality, anyway.
If you know your way around Photoshop — or even Canva — you can use that. Canva would probably be the easiest method. Just create a new square image, find a circle frame in the elements list, fill it with any background image you want, then add a second circle frame and drop your headshot into it. Here’s a free Canva template I created just now that has a few different options. The trick to getting this to work is to layer frames — first, you take one circular frame that you put the background in. You can blur the background image at this step. Then, you place a second circular frame on top of the first, and you put your profile photo in that one.
But I’m lazy, so instead I use Profile Pic Maker, which is another free online tool.
Just upload your picture, pick a background, and download it.

You have the option of downloading either a circular or a square headshot.
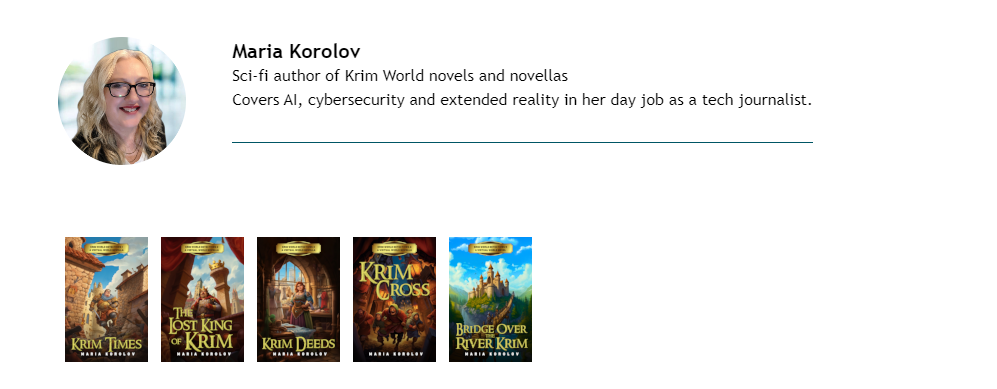
This is exactly the method I used to create the headshot that use for my author bio here on MetaStellar — and I also use that same headshot in my email signature. (And yes, feel free to email, call, or text if you have any questions.)
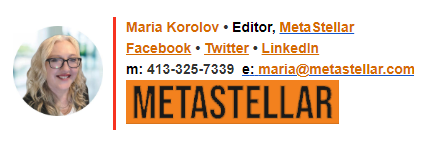
You can use the free email signature generator tool from HubSpot to create your own email signature.
For example, here’s one where I have several of my book covers:
You can edit this signature further once you get it into Gmail to, say, remove some of the excess white space, or change your links. Of course, if you know HTML, you can just create your signature manually, but who has time for that?
You can also have your entire signature be just one big image. If so, you can use Canva, which has a bunch of free email signature templates.
Edited by Melody Friedenthal

MetaStellar editor and publisher Maria Korolov is a science fiction novelist, writing stories set in a future virtual world. And, during the day, she is an award-winning freelance technology journalist who covers artificial intelligence, cybersecurity and enterprise virtual reality. See her Amazon author page here and follow her on Twitter, Facebook, or LinkedIn, and check out her latest videos on the Maria Korolov YouTube channel. Email her at [email protected]. She is also the editor and publisher of Hypergrid Business, one of the top global sites covering virtual reality.
I think it’s important to have a good author profile photo. It can help people to get to know you better and make a decision about whether or not to read your book.